This post may contain affiliate links. I may receive commissions for purchases made through these links with no extra cost to you. See full disclosure.
How to Make a Hot Air Balloon Out of Tissue Paper
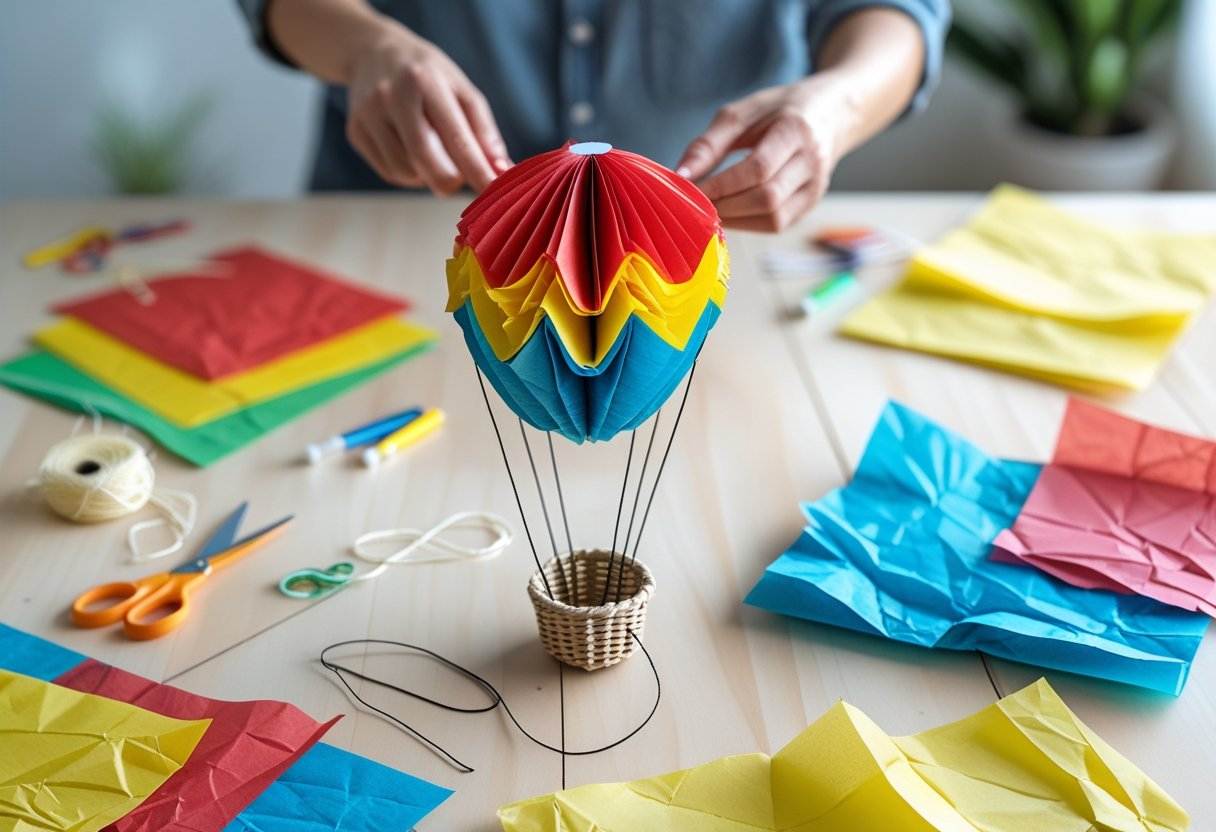
Making a hot air balloon out of tissue paper is one of the most exciting science projects you can do with kids. You can create a working hot air balloon using just tissue paper, glue, string, and a few basic materials that will actually fly when heated with warm air. This hands-on project teaches basic science concepts while providing hours of fun building and experimenting.
We love this project because it combines art, science, and engineering in one activity. The balloon works on the simple principle that warm air is lighter than cold air, so when we heat the air inside our tissue paper balloon, it becomes less dense and rises. This same concept makes real hot air balloons soar through the sky.
Our guide will walk you through everything from understanding the science behind flight to gathering materials and building your balloon step by step. We’ll show you how to create the balloon structure, add a proper heat source, and safely launch your creation outdoors.
Whether you’re working on a science fair project or just want a fun weekend activity, this tissue paper hot air balloon will amaze everyone who sees it fly.
Understanding Hot Air Balloon Science
When we build tissue paper hot air balloons, we use the same scientific principles that power real hot air balloons. Warmer air naturally rises above cooler air because heating changes how air molecules behave and makes the air less dense.
Why Hot Air Balloons Float
Hot air balloons work because warm air weighs less than cool air. When we heat the air inside our tissue paper balloon, it becomes lighter than the cooler air around it.
This difference in weight creates what scientists call buoyancy. The heavier cool air pushes up on the lighter warm air inside our balloon.
Think of it like a cork floating in water. The cork rises because water is heavier and pushes it up. Our balloon rises because the cool air around it is heavier than the warm air inside.
The balloon will only float when the warm air inside weighs less than the cool air it pushes away. This is why we need to keep heating the air to make our balloon fly.
The Role of Air Molecules and Temperature
Air molecules move differently at higher temperatures. When we heat air, the molecules start moving much faster and spread farther apart.
Cool air has molecules that move slowly and stay close together. This makes cool air dense and heavy.
Hot air has molecules that move quickly and spread out more. This makes hot air less dense and lighter than cool air.
When air molecules spread apart from heating, the same amount of air takes up more space. Since the molecules are more spread out, that air weighs less than the same amount of cool air.
Our tissue paper balloon traps this lighter, heated air inside. The heated air stays warmer than the outside air for several minutes.
How Warmer Air Rises
Warmer air rises because of a scientific principle called convection. Dense, heavy cool air sinks down while less dense warm air gets pushed upward.
We can see this happening when we use a hair dryer to fill our balloon. The warm air from the dryer immediately starts moving up into the balloon.
The cool air around our balloon is heavier, so it falls down. As the cool air falls, it pushes the warm air up and out of the way.
This creates an upward force on our balloon. When this upward force is stronger than the weight of our balloon and the warm air inside, our balloon will lift off the ground.
The warmer we make the air inside, the stronger this lifting force becomes.
Materials Needed for a Tissue Paper Hot Air Balloon
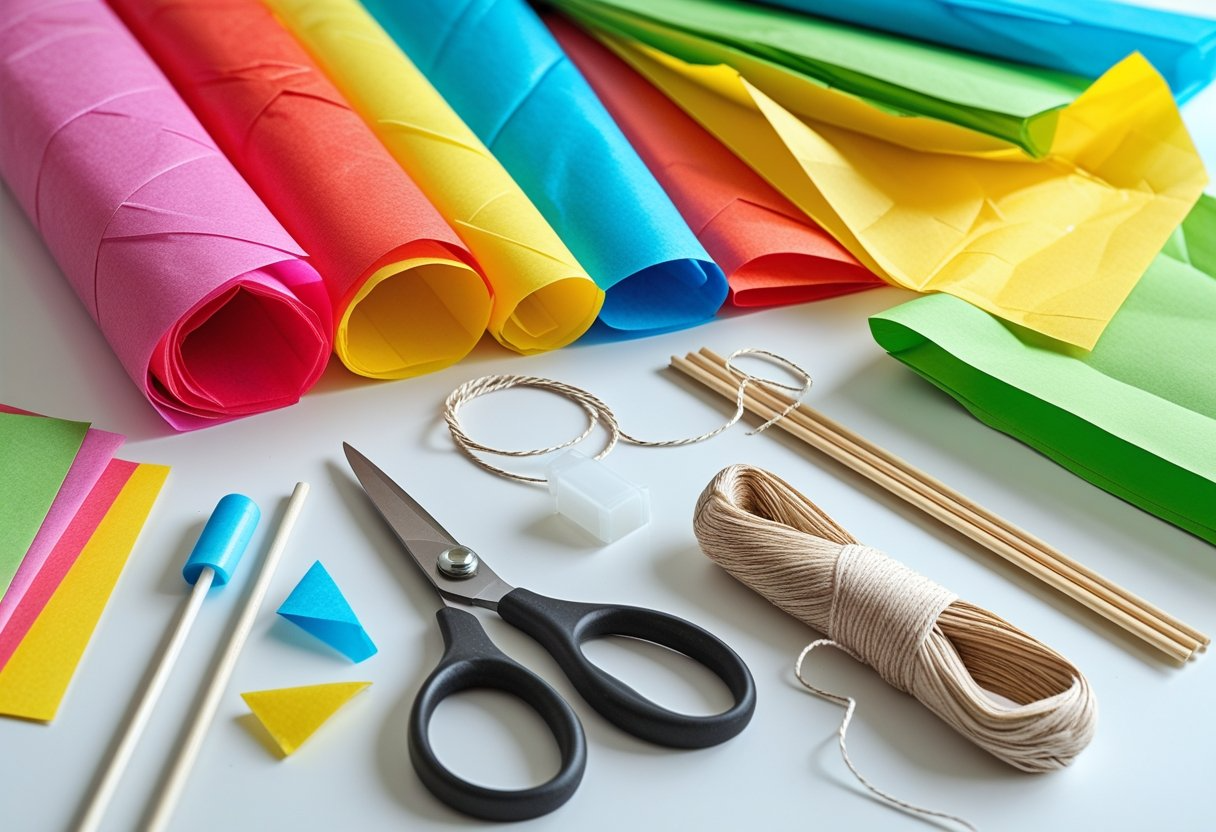
The right materials make all the difference when building a tissue paper hot air balloon. We’ll need specific types of tissue paper, basic craft supplies, and a few tools to create strong seams that hold hot air safely.
Selecting the Right Tissue Paper
We need 5-10 sheets of tissue paper for most balloon projects. The best size is 20×30 inches, which we can find at most craft stores.
Regular gift wrap tissue paper works well. We want thin paper that’s easy to fold and glue together.
For larger balloons, we can buy tissue paper rolls that are 24 inches wide. We cut these into 6-foot long pieces for bigger projects.
Avoid heavy or waxed tissue paper. These types don’t work well because they’re too thick. They also don’t let heat pass through properly.
We should pick bright colors that are easy to see in the sky. Red, yellow, and orange work best for safety reasons.
Essential Craft Supplies
A glue stick is our main tool for joining tissue paper panels together. It dries clear and doesn’t wrinkle the paper like liquid glue.
We also need a hot glue gun for stronger connections. This works great where the balloon connects to the basket or opening.
Mod podge can replace regular glue if we want extra strength. It makes the seams waterproof and more durable.
Other supplies we need:
- Sharp scissors
- Ruler or measuring tape
- Pencil for marking
- Heavy paper strip for the opening
- Small paper cup or basket
Alternative Materials for Crafting
Instead of starting from scratch, we can use a papier-mâché balloon as our base. We cover it with tissue paper panels for a smoother shape.
Paper mache techniques also work well for making the basket. We use newspaper strips and flour-water paste to build a strong container.
Fabric glue can replace our glue stick if we run out. It bonds tissue paper just as well but takes longer to dry.
We can substitute plastic straws for paper strips at the balloon opening. They’re lighter and easier to work with for beginners.
Step-by-Step Guide: Building Your Tissue Paper Hot Air Balloon
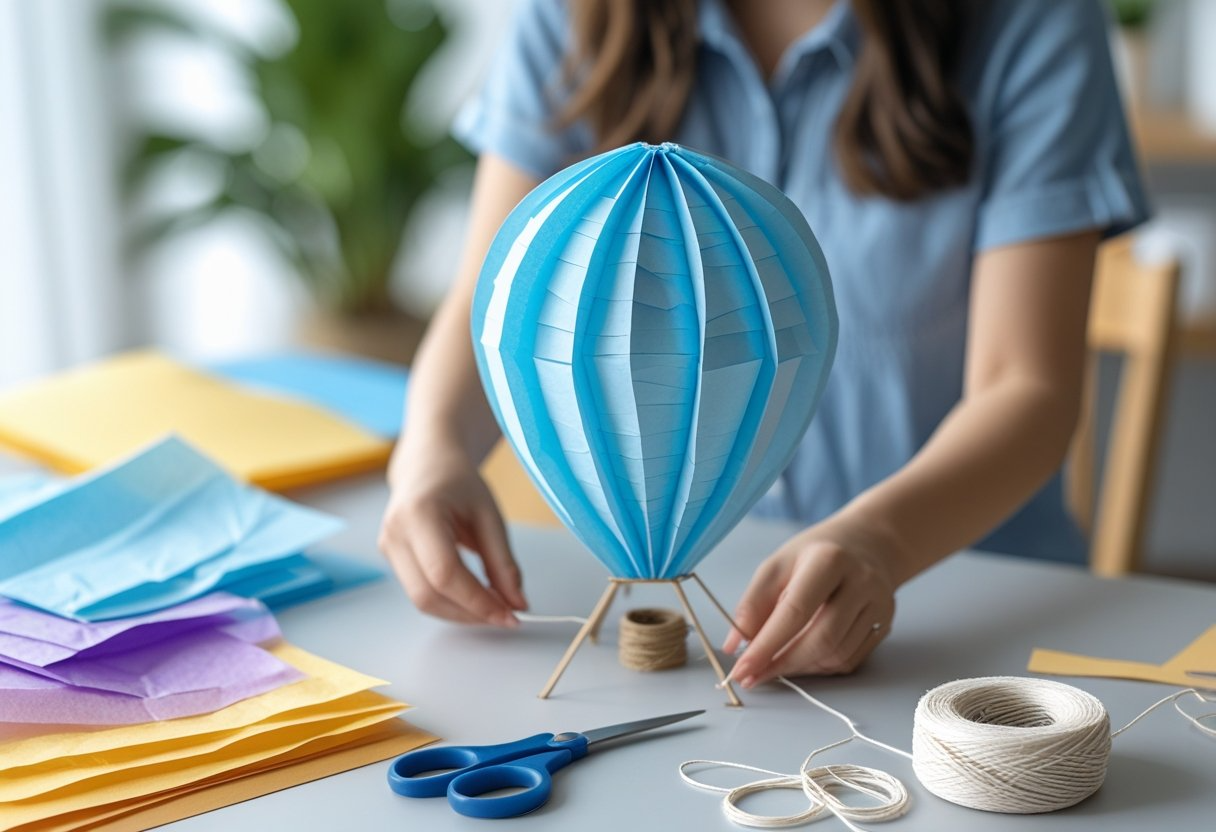
We’ll create our balloon by cutting teardrop-shaped panels, gluing them together to form the balloon body, and adding a paper collar at the bottom opening. A small basket or base can be attached to complete our flying craft.
Designing and Cutting the Balloon Shape
We need to start with the right balloon shape for our hot air balloon to work properly. Let’s stack 5-6 sheets of tissue paper on top of each other.
We should fold this stack in half lengthwise. This helps us cut identical panels for our balloon.
Now we draw half of a teardrop shape on the folded paper with a marker. The narrow end goes at the top, and the wide end stays at the bottom.
Important measurements:
- Make the shape about 12-14 inches tall
- Keep the bottom width around 8-10 inches
- The top point should be narrow but not too sharp
We cut along our drawn line through all layers. When we unfold everything, each piece becomes a full teardrop panel.
We should end up with 5-6 identical panels. These small sections will connect together to form our entire balloon.
Assembling the Tissue Paper Panels
We start by taking two panels and placing them side by side. We apply a thin line of glue along one edge of the first panel.
We press the edge of the second panel onto the glued area. We need to hold it firmly for about 30 seconds to make sure it sticks.
Panel assembly tips:
- Use a glue stick for best results
- Keep glue lines thin to avoid wrinkles
- Work on a flat surface
We continue adding panels one at a time. Each new panel gets glued to the previous one along the edge.
When we attach the last panel, we create a complete balloon shape. We glue the final edge to close the entire balloon into a round form.
We should check all seams for gaps. Any small holes need to be sealed with extra glue or small tissue paper patches.
Creating the Bottom of the Balloon
The bottom of the balloon needs a strong opening for hot air to enter. We cut a paper strip about 2 inches wide and 8 inches long.
We glue this strip inside the bottom opening of our balloon. The strip should form a circle that fits snugly over our hair dryer nozzle.
This paper collar gives our balloon structure and support. Without it, the tissue paper might tear when we add hot air.
Bottom opening requirements:
- Must fit over hair dryer end
- Should allow some air to escape
- Needs to be reinforced with paper strip
We test the fit by gently placing our hair dryer against the opening. The collar should hold the balloon securely but not too tightly.
Some air must be able to escape around the edges. This prevents our balloon from bursting when it fills with hot air.
Adding a Basket or Base
We can attach a small basket to make our balloon look more realistic. A paper cup or small cardboard box works well for this.
We cut four thin strips of paper or use lightweight string. Each strip should be about 6 inches long.
We tape or glue one end of each strip to the bottom edge of our balloon. We space them evenly around the opening.
The other ends of our strips get attached to the basket. We make sure all strips are the same length so our basket hangs straight.
Basket options:
- Paper cup (lightweight)
- Small cardboard box
- Folded paper container
- Small craft basket
Our basket should be very light. Heavy baskets will prevent our balloon from floating properly when filled with hot air.
We can decorate our basket with markers or small stickers. Just remember that extra decorations add weight to our balloon.
Securing and Finishing Your Balloon Structure
We need to make our tissue paper balloon strong and stable before it can fly. The key steps involve reinforcing weak spots and adding the final touches that make our finished hot air balloon both functional and beautiful.
Strengthening the Seams
We should check all our seams carefully before moving forward. The joints between tissue paper sections are the weakest parts of our balloon.
Apply extra glue along any loose edges we find. Use a glue stick to add a thin layer over existing seams. This creates a stronger bond.
Pay special attention to these areas:
- Top point where all sections meet
- Middle sections that bear the most stress
- Bottom edges near the opening
We can add small tissue paper patches over problem spots. Cut patches about 2 inches wide from leftover material. Place them over weak seams and press down firmly.
Let the glue dry for at least 10 minutes between each repair. This prevents the tissue paper from tearing when we handle it.
Attaching the Top and Base
The top of the balloon needs special care since it holds everything together. We should create a strong point where all sections meet.
If there’s a small hole at the very top, cut a circular patch about 3 inches across. Center it over the opening and glue it down smoothly.
For the base opening, we need to add a wire rim for strength. Use lightweight wire like telephone wire or thin craft wire.
Steps for the base:
- Measure the opening circumference
- Cut wire 2 inches longer than needed
- Form a circle and twist ends together
- Glue tissue paper over the wire edge
The wire helps our hot air balloon craft keep its shape when we fill it with warm air.
Decorating with Different Colors
We can make our balloon more colorful by adding decorative elements. Different colors of tissue paper create beautiful patterns when light shines through them.
Cut shapes like stars, circles, or stripes from colored tissue paper. Glue these onto the main balloon surface before the final assembly.
Popular decoration ideas:
- Rainbow stripes around the middle
- Polka dots in bright colors
- Geometric patterns
- Simple designs like hearts or flowers
Keep decorations small and lightweight. Heavy decorations will make the balloon too heavy to fly properly.
We can also use markers to draw designs directly on the tissue paper. Use light strokes to avoid tearing the delicate material.
Ensuring Stability and Balance
Our finished hot air balloon must be balanced to fly straight up. We need to check that the weight spreads evenly around the opening.
Test the balance by holding the balloon at different points around the rim. It should hang straight down without tilting to one side.
If the balloon tips, we can add small pieces of tape to the lighter side. Use clear tape and keep pieces very small.
Balance check steps:
- Hold balloon by the wire rim
- Let it hang freely
- Note any tilting or spinning
- Add tiny weights to correct imbalance
The opening should form a perfect circle when we stretch it gently. This helps warm air flow in smoothly during inflation.
We should also check that our balloon can expand properly. Gently push air into it by hand to test for restrictions or tight spots that might cause problems later.
Understanding and Implementing the Heat Source
The heat source determines whether our tissue paper balloon will successfully lift off. We need safe options that produce enough warm air while keeping our delicate balloon material protected from flames or excessive heat.
Safe Heat Sources for Lift
Hair dryers work best for tissue paper hot air balloons. They create steady warm air without open flames that could burn our balloon.
We should use the cool or low heat setting. High heat can melt tissue paper or make it too hot to handle safely.
Position the hair dryer at the bottom opening of our balloon. Point it straight up into the balloon cavity.
Here are safe heat source options:
| Heat Source | Safety Level | Lift Power | Best For |
|---|---|---|---|
| Hair dryer (cool) | High | Good | Indoor testing |
| Hair dryer (warm) | High | Better | Outdoor flights |
| Heat gun (low) | Medium | Best | Advanced builders |
Avoid these dangerous options:
- Candles or open flames
- Outdoor gas cookers
- Space heaters
- Hair dryers on maximum heat
Assembling the Heat Mechanism
We need to create a secure connection between our heat source and balloon opening. Cut a strip of tissue paper about 2 inches wide.
Glue this strip inside the bottom opening of our balloon. Make sure it fits snugly around the hair dryer nozzle.
Test the fit before adding glue. The connection should be tight enough to trap warm air but loose enough to remove the hair dryer quickly.
Reinforce weak spots with extra tissue paper strips. The bottom opening gets the most stress during inflation.
We can add small tabs around the opening for better grip. This helps us hold the balloon steady while filling it with hot air.
Testing in a Larger Space
Move to a bigger room or outdoor area for testing. Small spaces don’t give our balloon enough room to rise properly.
Check for air currents that might interfere with our balloon float. Even small breezes can push lightweight tissue paper balloons off course.
Clear the area of ceiling fans, furniture, or obstacles. Our balloon needs at least 10 feet of open space above it.
Have a partner help during testing. One person holds the balloon steady while the other operates the heat source.
Watch for signs of lift. The balloon should start to inflate and pull upward gently. If it doesn’t rise after 30 seconds of heating, check our connections and heat source power.
Practice the release in our larger space first. We need smooth coordination between turning off the heat source and letting the balloon go.
Launching and Experimenting with Your Homemade Hot Air Balloon
Now comes the exciting part where we get to see our tissue paper creation take flight. The key to success lies in proper preparation, choosing the right weather conditions, and staying safe throughout the process.
Preparing for Launch
We need to gather all our materials before heading outside. Our homemade hot air balloon requires a heat source to fill with warm air.
The most common approach uses a hair dryer as the heat source. We should test our hair dryer beforehand to make sure it works properly. Some people prefer using a small fan, but hair dryers work better for most science projects.
We need at least two people for launch day. One person holds the balloon opening steady. The other person operates the hair dryer to fill the balloon with warm air.
Before we start, we should check our balloon for any tears or loose edges. Small holes can prevent our balloon from floating properly. We can fix minor problems with tape or glue.
It’s smart to practice our launch technique in a safe indoor space first. This helps us understand how the balloon fills and how much warm air it needs.
Best Conditions for Floating
Weather makes a huge difference for balloon launches. We want calm days with very little wind. Strong winds can blow our balloon in dangerous directions or tear the delicate tissue paper.
Early morning or evening often provides the calmest air. We should avoid launching on windy days, even if the weather looks nice otherwise.
Ideal launch conditions:
- Wind speed under 5 mph
- Clear skies or light clouds
- No rain or moisture
- Open area away from trees and buildings
- No power lines nearby
We need plenty of open space for our launch. Parks, large fields, or empty parking lots work well. The area should be at least 100 feet away from buildings, trees, and power lines.
Indoor launches work too, but we need high ceilings and good ventilation. Gymnasiums or large rooms work best for indoor experiments.
The next day after rain is usually not good for launching. Moisture in the air can make our tissue paper heavy and less likely to float.
Observing What Happens Next
Once we release our balloon, we can watch how it moves through the air. Most tissue paper balloons will rise slowly at first, then gain height as more warm air fills the space inside.
Our balloon might reach 50 to 200 feet high before it starts to cool down. As the air inside cools, the balloon will begin to sink back toward the ground.
We should time how long our balloon stays in the air. Most homemade balloons float for 2 to 5 minutes before landing. This timing depends on the size of our balloon and how much warm air we put inside.
What to look for:
- How fast the balloon rises
- How high it goes before stopping
- Which direction it drifts
- How it moves as it comes down
Wind currents can push our balloon in unexpected directions. Even on calm days, air moves differently at various heights. This makes each launch unique and interesting to watch.
Taking photos or videos helps us remember what worked well. We can use this information to improve our next balloon design.
Safety Precautions
Safety comes first when launching any homemade hot air balloon. We must never use open flames, candles, or matches as heat sources. Hair dryers provide enough warm air without creating fire risks.
Adult supervision is required for all launches, especially for younger kids working on science projects. Adults should handle the hair dryer and choose the launch location.
We should never chase our balloon once we release it. If it lands in a tree, on a roof, or near power lines, we leave it there. The balloon is not worth risking injury.
Important safety rules:
- Always have an adult present
- Never use open flames or fire
- Stay away from power lines
- Don’t launch near airports
- Keep spectators at a safe distance
If our balloon doesn’t work on the first try, we shouldn’t get frustrated. Many factors affect whether tissue paper balloons will float properly. We can try again with adjustments to our technique or design.
We should also clean up after our experiments. If our balloon lands where we can safely reach it, we should pick it up and throw it away properly.

- Easy St Patrick’s Day Decorations To Bring You Luck! - January 11, 2026
- Best Songs From The 1980’s That Still Rock Today! - January 3, 2026
- The Best Printable Pirate Scavenger Hunt For Classroom Fun! - January 2, 2026